在這篇教學文章中,我們會看看如何為 SwiftUI App 建立多個 theme。
我們會利用一個只有一個 Text 的範例 App,它會根據不同的 Theme 更改顏色和文本。
建立 SwiftUI 專案
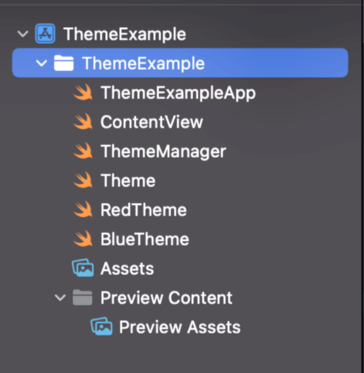
建立一個新專案,並選擇 SwiftUI 視圖。我們的範例 App 需要建立 4 個新檔案。
把它們命名為 ThemeManager、Theme、BlueTheme、和 RedTheme。你的 File Explorer 看起來應該是這樣:
暫時不用修改 View 的 “Hello World” 文本,我們稍後會再處理。
現在,讓我們看看如何建立一個新的 Theme。
首先,我們需要一個所有 Theme 都會實作的協定 (protocol),名為 Theme 協定。我們的 File 看起來應該是這樣的:
import Foundation
import SwiftUI

protocol Theme {
    var textColor: Color { set get }
    var welcomeText: String { set get }
}
範例的協定十分簡單,當中只有兩個屬性 (property),一個是 textColor,代表文本的顏色,另一個是 welcomeText,是 Text 的字串 (string)。
建立好協定之後,讓我們來建立 BlueTheme 和 RedTheme 吧。以下是 BlueTheme 的程式碼:
import SwiftUI

final class BlueTheme: Theme {
    var textColor: Color = .blue
    var welcomeText: String = "I have the blue theme"
}
以下就是 RedTheme 的程式碼:
import SwiftUI
final class RedTheme: Theme {
var textColor: Color = .red
var welcomeText: String = "I have the red theme"
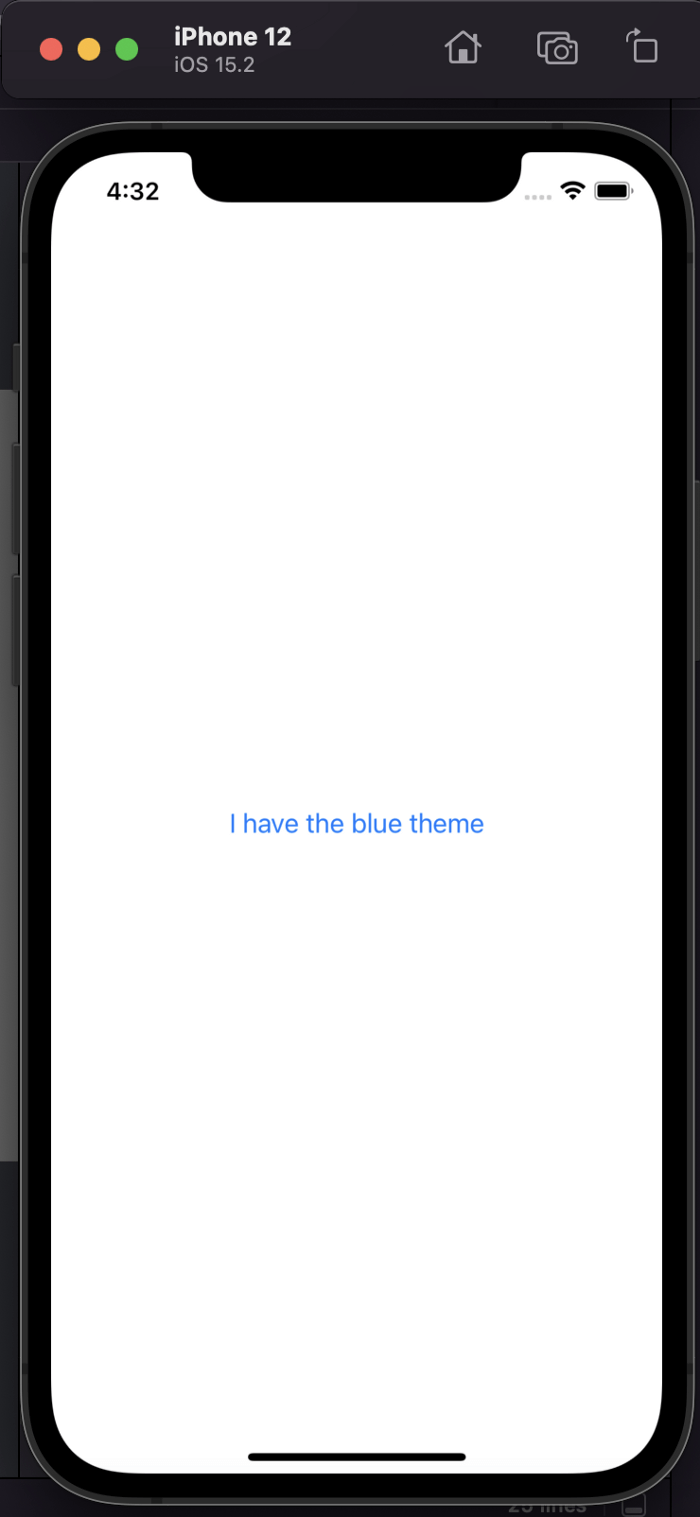
}好了,現在我們建立了兩個 theme。如你所見,BlueTheme 顏色為藍色,文本是 I have the blue theme;而 RedTheme 顏色為紅色,文本是 I have the red theme。
在 ContentView 套用 theme 之前,我們需要建立一個 Manager 來追蹤當前的 theme,讓 App 所有實例都可以應用它們。
讓我們調用它的管理器 ThemeManager:
class ThemeManager {
    static let shared = ThemeManager()
    private var theme: Theme = RedTheme() // Default theme

    public func applyTheme(theme: Theme) {
        self.theme = theme
    }

    public func getTheme() -> Theme {
        return self.theme
    }
}
ThemeManager 是一個簡單的單例 (singleton),有 get 和 apply theme功能。為方便起見,我們將預設主題設置為 RedTheme。
現在,可以把 theme 套用到 ContentView 了:
import SwiftUI

struct ContentView: View {

    init() {
        self.applyBlueTheme()
    }

    var body: some View {
        let theme = ThemeManager.shared.getTheme()
        Text(theme.welcomeText)
            .foregroundColor(theme.textColor)
            .padding()
    }

    private func applyBlueTheme() {
        ThemeManager.shared.applyTheme(theme: BlueTheme())
    }
}

struct ContentView_Previews: PreviewProvider {
    static var previews: some View {
        ContentView()
    }
}
在 init 方法內建立視圖之前,我們需要先調用 applyBlueTheme 函式,然後函式會調用 manager,並設置 BlueTheme 為當前的 theme。
之後,設置數值的步驟就十分簡單。
在構建視圖時,我們會從之前創建的 theme.welcomeText 中取得文本、並從 theme.textColor 中取得顏色。
如果我們想顯示紅色的文本,只要從 BlueTheme 轉到 RedTheme 就可以了!讓我們看看實作的結果吧:
這篇文章到此為止。謝謝你的閱讀。